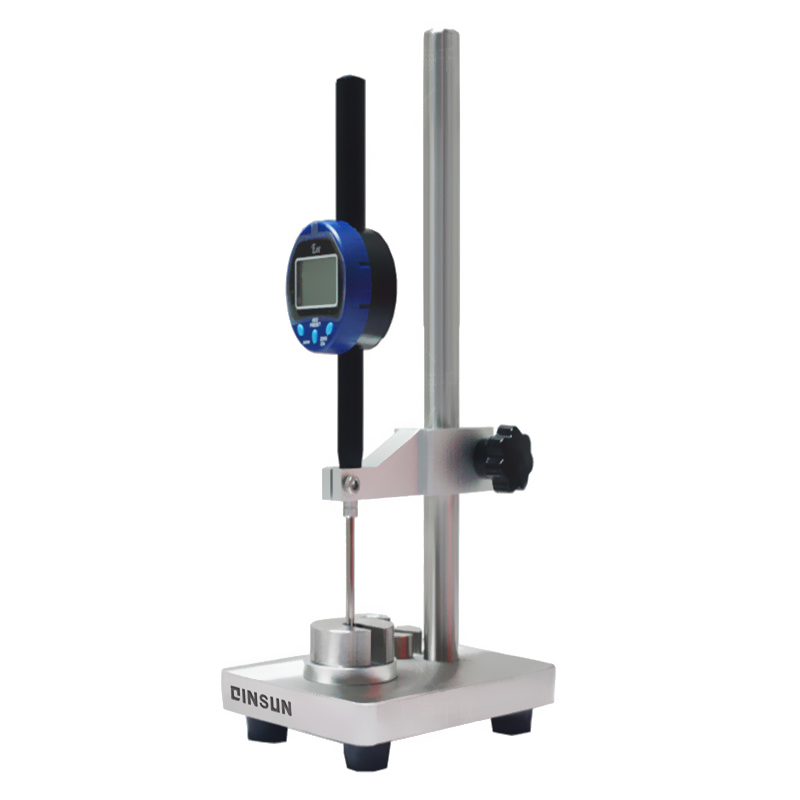
Fabric thickness gauge
Fabric thickness gauge
Digital thickness gauges are devices used to measure the thickness of textiles, knitwear, film, rubber, and foam plastics. They are used to accurately measure the thickness of various sheet products, including fabrics, leather, carpets, and paper. Handheld thickness gauges offer simple operation, intuitive readings, portability, and a wide range of applications.
Operation steps:
⑴ Clean the exposed parts of the instrument, especially the reference plate, presser foot, and measuring rod, to remove any dust or fibers.
⑵ Select the presser foot area, pressing time, and pressing weight according to the fabric being tested. Replace the selected presser foot and pressing weight (selected according to GB/T3820-1999).
⑶ Select "Continuous" or "Single" and the "10s" or "30s" button position as required. Turn on the power and press the start button to start the instrument.
⑷ Zeroing the electronic dial indicator: Turn on the power and turn on the power switch. The power indicator will light up. Select the presser foot area and pressing weight according to the fabric being tested. Turn the button to "Single" and press the start button to start the instrument. When the presser foot contacts the reference plate, the reading indicator will light up and the buzzer will sound. Press the reset button to reset the electronic dial indicator to zero.
5. When the presser foot is raised, place the fabric or sample under test on the reference plate without tension.
6. "Single" Test: When the presser foot presses the fabric under test for 10 seconds, the reading indicator automatically illuminates and a buzzer sounds. While the reading indicator illuminates, read the thickness value displayed on the electronic dial indicator as quickly as possible and record it. If the reading indicator does not illuminate, the value displayed on the electronic dial indicator is invalid.
7. "Continuous" Test: After the reading indicator goes out, the presser foot automatically raises, cycling up and down.
Using the time between the presser foot's rise and fall, move the fabric under test to a new measurement location and record its thickness readings one by one. (If the reading indicator illuminates, the recorded value is valid; otherwise, it is invalid.)
8. When the test is complete, return the presser foot to its initial position (i.e., in contact with the reference plate), turn off the power, remove the weight, and cover the instrument with a cloth to prevent dust intrusion.
Precautions:
⑴ When replacing the presser foot or when the instrument is not in use for an extended period, place a protective rubber pad between the presser foot and the reference plate to protect the measuring surface from damage.
⑵ After each experiment, turn off the power switch and unplug the instrument.
⑶ Clean and maintain the instrument properly to ensure the smooth operation of the transmission mechanism and regularly add a small amount of watch oil.
⑷ Regularly calibrate the instrument as needed to ensure the accuracy of the measured values.
⑸ Remove the batteries when the instrument is not in use for an extended period to prevent leakage.
Routine maintenance
I. Cleaning and Maintenance
Regular Cleaning: Regularly clean the exterior of the fabric thickness gauge, especially the measuring head and reference plate, to ensure there are no residue or stains. Use a mild detergent; avoid using corrosive or organic solvents to prevent damage to the instrument housing.
Internal Cleaning: If disassembling internal components for cleaning is necessary, be sure to take photos or mark them before disassembly to ensure proper reassembly. Clean components with high-purity alcohol and dry them with a hair dryer on cold air.
II. Inspection and Calibration
Zero Check: Regularly check the instrument's zero position to ensure that the thickness indicator accurately zeros when no specimen is present. If zero deviation is detected, adjust the zero position promptly.
Working Surface Parallelism Check: Regularly check the parallelism of the upper and lower measuring platform working surfaces to ensure accurate test results.
Regular Calibration: Regularly calibrate the fabric thickness gauge using standard samples for comparison or entrust a professional calibration service to ensure accurate measurement results.
III. Component Inspection and Replacement
Inspect the probe and sensor: Ensure that the surfaces of the measuring head and sensor are free of dirt, corrosion, or damage. The condition of these components directly affects the accuracy and stability of measurements.
Replace Damaged Parts: If any components, such as the presser foot, measuring head, or display, are damaged, they should be replaced promptly to ensure proper operation of the instrument.
IV. Usage and Maintenance Precautions
Correct Operation: Follow the instrument's manual or test standards to avoid improper operation that could damage the instrument or cause inaccurate test results.
Environmental Requirements: Avoid using the fabric thickness gauge in high-temperature or high-humidity environments. The operating temperature should be between 0°C and 40°C, with a relative humidity of 80% or less, to avoid affecting the instrument's accuracy.
Protecting the Work Surface: When not in use, place a protective sponge pad between the presser foot and the reference plate to protect the work surface from damage.
Power Supply Stability: Ensure the power supply of the fabric thickness gauge is stable. Power supply problems may cause inaccurate measurements or equipment failure.
V. Software and Record Management
Software Updates: If the fabric thickness gauge uses software, it should be regularly checked and updated to ensure proper performance and functionality.
Record Management: Establish a record management system for instrument usage and maintenance, documenting every use, cleaning, calibration, and repair to track instrument status and any issues.
In summary, routine maintenance for a fabric thickness gauge includes cleaning and care, inspection and calibration, component inspection and replacement, usage and maintenance precautions, and software and record management. Following these maintenance procedures ensures accurate and reliable test results and extends the instrument's lifespan.
2025-08-01 14:09