The UV Accelerated Weathering Tester Guide For Everyone
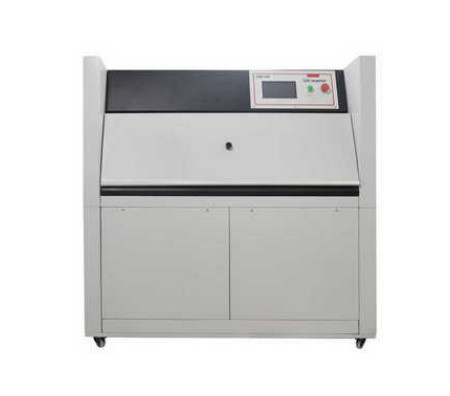
The UV Accelerated Weathering Tester is a valuable tool for evaluating the effects of UV radiation, heat, and moisture on materials. Whether you are a materials engineer, a product developer, or simply interested in understanding the performance of materials, here is a guide for everyone on how to effectively use the UV Accelerated Weathering Tester:
1. Understand the Purpose: Before starting any testing, it's important to have a clear understanding of why you are using the UV Accelerated Weathering Tester. Identify your testing objectives, whether it's to assess color fading, material degradation, physical property changes, or other relevant parameters.
2. Select Appropriate Test Standards: Familiarize yourself with industry standards and guidelines related to UV accelerated weathering testing. Determine which standards are applicable to your specific materials and testing requirements. This will ensure that your testing is conducted in a consistent and standardized manner.
3. Prepare Test Specimens: Prepare your test specimens according to the specified dimensions and requirements. Ensure that you have enough samples for testing, and that they are representative of the materials being evaluated. Pay attention to any surface preparation or pre-conditioning steps that may be required.
4. Set Up Test Conditions: Set the desired test parameters on the UV Accelerated Weathering Tester. This includes UV exposure intensity, temperature, humidity, and test duration. Consult the manufacturer's instructions and test standards for guidance on appropriate test conditions.
5. Monitor and Record Testing: During the testing process, regularly monitor and record key parameters such as UV intensity, temperature, and humidity levels. Keep accurate records of the exposure time and any noticeable changes in the test specimens.
6. Track Material Performance: Perform regular inspections and measurements on the test specimens to track changes in physical appearance, color, gloss, mechanical properties, or other relevant parameters. Document these changes and compare them against baseline measurements or control specimens.
7. Analyze and Interpret Results: Analyze the data collected during the testing process and interpret the results in relation to your testing objectives. Look for trends, patterns, or deviations from expected behavior. Consider statistical analysis and visualization techniques to aid in result interpretation.
8. Relate to Real-World Conditions: Relate the accelerated weathering test results to real-world conditions and usage scenarios. Consider factors such as geographical location, climate, and application-specific requirements. Make informed decisions based on the test results and their relevance to actual field performance.
9. Continuously Improve Testing Processes: Use the insights gained from the testing process to improve future testing procedures and optimize material selection. Incorporate feedback from stakeholders, evaluate alternative test methods, and stay updated with the latest advancements in UV weathering testing.
10. Document and Communicate Findings: Finally, document your testing procedures, results, and conclusions in a comprehensive report. Communicate the findings effectively to the relevant stakeholders, and use the information to guide decisions related to product development, material selection, or quality control.
By following this guide, anyone can effectively use the UV Accelerated Weathering Tester to evaluate material performance and make informed decisions. Remember to adapt the testing approach based on the specific materials, industry standards, and testing objectives.
2023-07-28 14:10
- Related News
The importance of battery internal resistance testing in the battery manufacturi
Application and structural principle of high and low temperature test chamber
Application of Small Coating Machine in Polyimide Slurry
Principles and selection methods of laboratory incubators
Evaluation of Moisture Absorption and Rapid Drying Performance of Textiles by Na
Liquid Moisture Management Tester
Paper ring compression strength tester standards