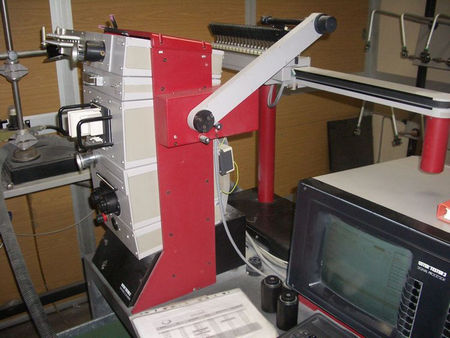
How do I prepare the material for testing using the yarn testing machine?

A yarn testing lab machine is an instrument used to measure the strength, elongation, breakage and other properties of yarns. Before using the yarn testing lab machine for testing, some preparation of the material is required to ensure the accuracy and validity of the test. The following are some of the preparation steps:

Different yarn testing lab machines have different specifications, functions and applicability, so you need to choose the right yarn testing lab machine according to the testing purpose and the characteristics of the material. for example, if you want to test the strength of yarn, you need to choose a yarn testing lab machine that can provide constant tension or constant speed; if you want to test the strength of yarn, you need to choose a yarn testing For example, if you want to test the strength of a yarn, you need to choose a yarn testing lab machine that can provide constant tension or constant speed; if you want to test the breakage of a yarn, you need to choose a yarn testing lab machine that can record the force and elongation at breakage. 2.
2. Adjust the parameters of the yarn testing lab machine. According to the test standard and the nature of the material, adjust the parameters of the yarn testing lab machine, such as pre-tension, pulling speed, fixture spacing, sampling frequency and so on. These parameters will affect the accuracy and comparability of test results, so they need to be adjusted appropriately according to the specific situation.

3. Prepare the test sample. Remove sufficient number and length of yarns from the material to be tested as the test sample, taking care to avoid damage or deformation to the yarns. Place the test sample in a constant temperature and humidity equilibrium for a period of time to eliminate the effects of temperature and humidity on yarn performance. Before testing, check that the test sample is clean, free of damage, knots and other defects, and if so, it should be replaced with a new test sample.
4. Install the test sample. Fix the test sample on the jig of the yarn testing lab machine according to the specified method, paying attention to keep the yarn straight and tensioned to avoid slackness or distortion. At the same time, pay attention to keep the jig spacing consistent with the set value to avoid affecting the test results.
Start the yarn testing lab machine and follow the operating instructions to start the test. During the testing process, observe and record the test data, such as force value, elongation, fracture position, etc. If abnormal conditions are found, the test should be stopped immediately and the cause should be checked.
6. Analyze the test results. Based on the test data, calculate and analyze the performance indexes of the yarn, such as force, elongation at break, elastic recovery, etc. Also, compare the differences between different batches or different types of yarns and explore the reasons.
2023-04-20 09:46


